Creating custom packaging boxes is one of the most effective ways to enhance your brand identity and deliver an exceptional unboxing experience to your customers. In this guide, we will walk you through everything you need to know to design, produce, and optimize custom boxes for your business.
Why Custom Packaging Matters
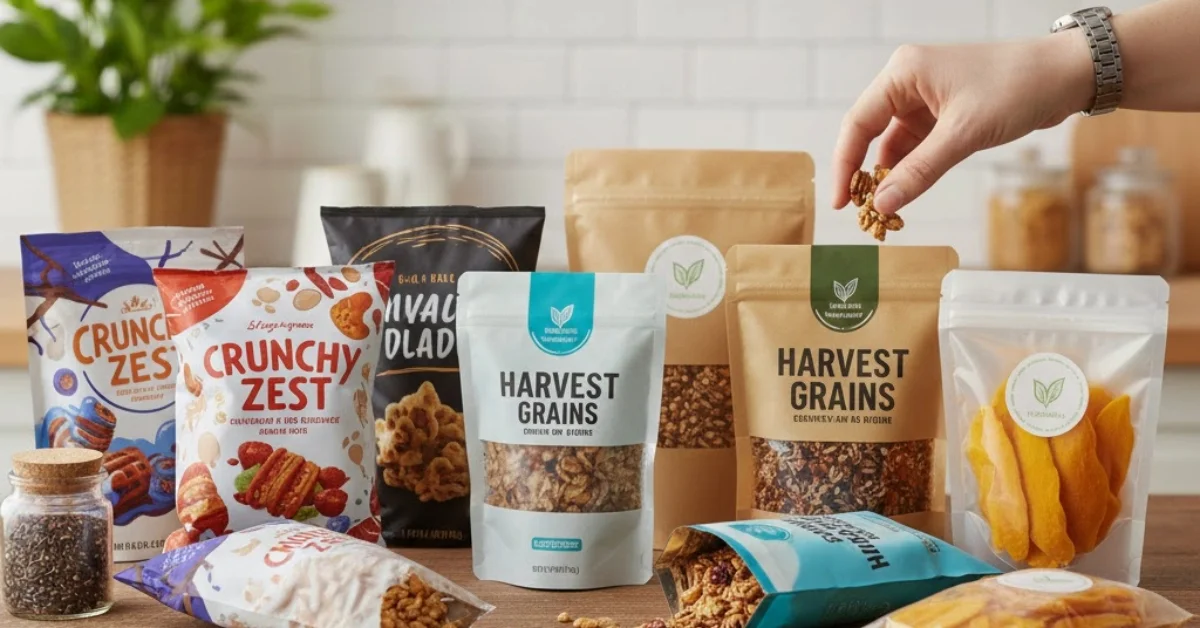
Custom packaging boxes are more than just containers for your products—they are an extension of your brand. Properly designed packaging can:
- Increase brand recognition
- Improve customer loyalty
- Protect your products during shipping
- Boost the perceived value of your products
By investing in custom boxes, you are essentially turning your packaging into a marketing tool.
Step 1: Determine Your Packaging Needs
Before you start designing, consider the following questions:
- What type of product are you packaging? (Electronics, food, cosmetics, clothing, etc.)
- What size and weight is your product?
- How fragile or durable is it?
- What are your environmental sustainability goals?
Answering these questions will help you choose the right materials and box structure for your needs.
Step 2: Choose the Right Materials
The material of your custom box is crucial for both protection and aesthetics. Common options include:
- Corrugated Cardboard: Ideal for shipping and heavier items. Strong and durable.
- Paperboard: Lightweight, perfect for retail and smaller products.
- Eco-Friendly Materials: Recycled cardboard or biodegradable options align with green branding.
Consider your product’s weight and fragility, as well as your brand’s environmental message.
Step 3: Design Your Custom Box
Designing your box involves both visual and structural elements. Focus on:
- Branding Elements: Logo, brand colors, and tagline should be clearly visible.
- Graphics and Artwork: Eye-catching graphics help your product stand out on shelves.
- Typography: Choose readable fonts that match your brand personality.
- Box Shape and Structure: Decide between folding cartons, rigid boxes, or mailer boxes based on your product and shipping requirements.
Step 4: Create a Dieline
A dieline is a flat template that outlines the folds, cuts, and safe areas of your box design. It ensures accurate printing and assembly. You can create a dieline using graphic software like Adobe Illustrator or use templates provided by packaging suppliers.
Tips for an Effective Dieline:
- Ensure all logos and important text are within the safe zone
- Include bleed areas to avoid white edges
- Double-check fold lines and cut lines for accuracy
Step 5: Prototype Your Box
Before mass production, create a prototype to test your design. Prototyping helps you:
- Visualize the final product
- Identify design flaws
- Test durability and fit
You can create prototypes using digital or physical methods. Digital mockups are great for presentations, while physical prototypes allow you to check sturdiness.
Step 6: Choose the Right Printing Method
The printing method impacts both the quality and cost of your custom boxes. Popular options include:
- Digital Printing: Cost-effective for small batches; allows for high-quality graphics.
- Offset Printing: Suitable for large quantities; provides consistent color accuracy.
- Screen Printing: Best for bold designs and limited colors.
Step 7: Production and Quality Control
Once your prototype is approved, move to mass production. Ensure strict quality control to maintain consistency in:
- Printing accuracy
- Material quality
- Box dimensions and folds
Work closely with your manufacturer to avoid errors that could affect the final product.
Step 8: Shipping and Handling
After production, consider how your custom boxes will be shipped. Factors to consider:
- Box Strength: Corrugated or double-walled boxes for heavy items
- Protection: Add inserts, bubble wrap, or tissue paper
- Shipping Costs: Balance durability with weight to optimize costs
Proper shipping ensures your products reach customers in perfect condition.
Step 9: Adding Extra Customization
For a more personalized touch, you can include:
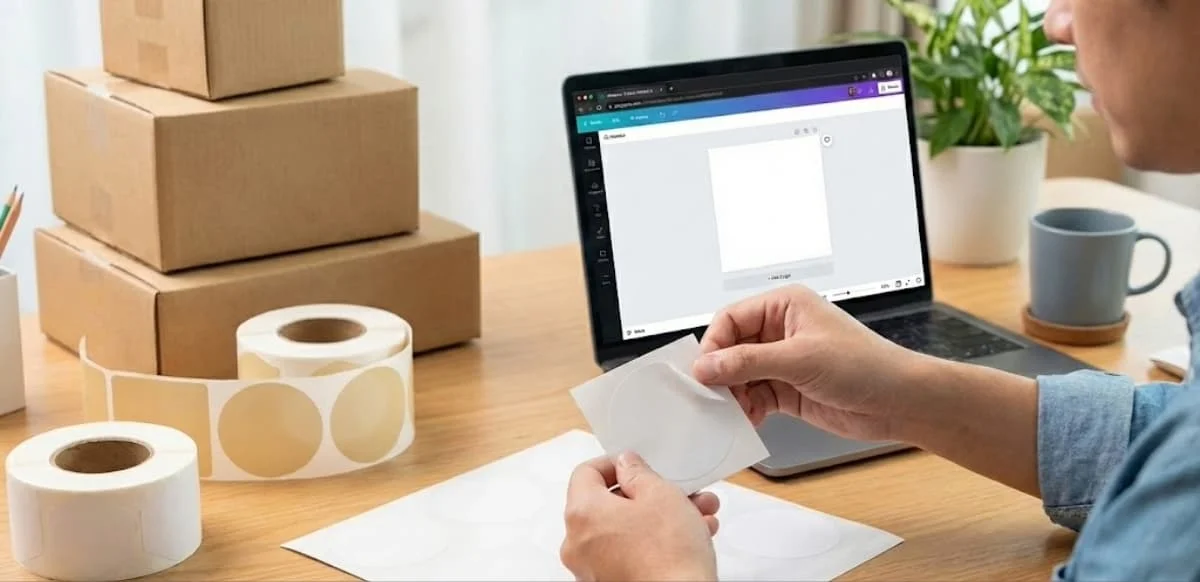
- Custom stickers or labels
- Ribbon or tissue paper
- Embossing or foil stamping
- QR codes linking to your website or social media
These small touches enhance the unboxing experience and strengthen brand loyalty.
Step 10: Optimize for SEO and Marketing
If you are selling products online, ensure your custom packaging is also optimized for marketing:
- Include your website URL and social media handles
- Use packaging photos in product listings
- Encourage user-generated content with branded hashtags
This creates a complete marketing loop from packaging to online engagement.
Conclusion
Creating custom packaging boxes is a strategic investment that goes beyond protection—it builds your brand, enhances customer experience, and can even drive sales. By carefully considering materials, design, printing, and customization, you can create packaging that not only looks great but also represents your brand values.
Invest time in planning, prototyping, and testing to ensure your first custom packaging boxes are a success. Remember, every detail—from dielines to shipping—matters in delivering an unforgettable experience to your customers.